
Being able to make text into something other than an endless jumble of identically capitalized letters is a skill that will come in handy. Whether you use Microsoft Word for study or work, be sure to use text formatting to make your content clearer.
In the introductory article, we showed you how to get Microsoft Word, or the entire Microsoft 365 office suite, and how to create and save your first document. Today, we'll move on and show you the basic features it offers.
When you open a new document, this is what you'll see:
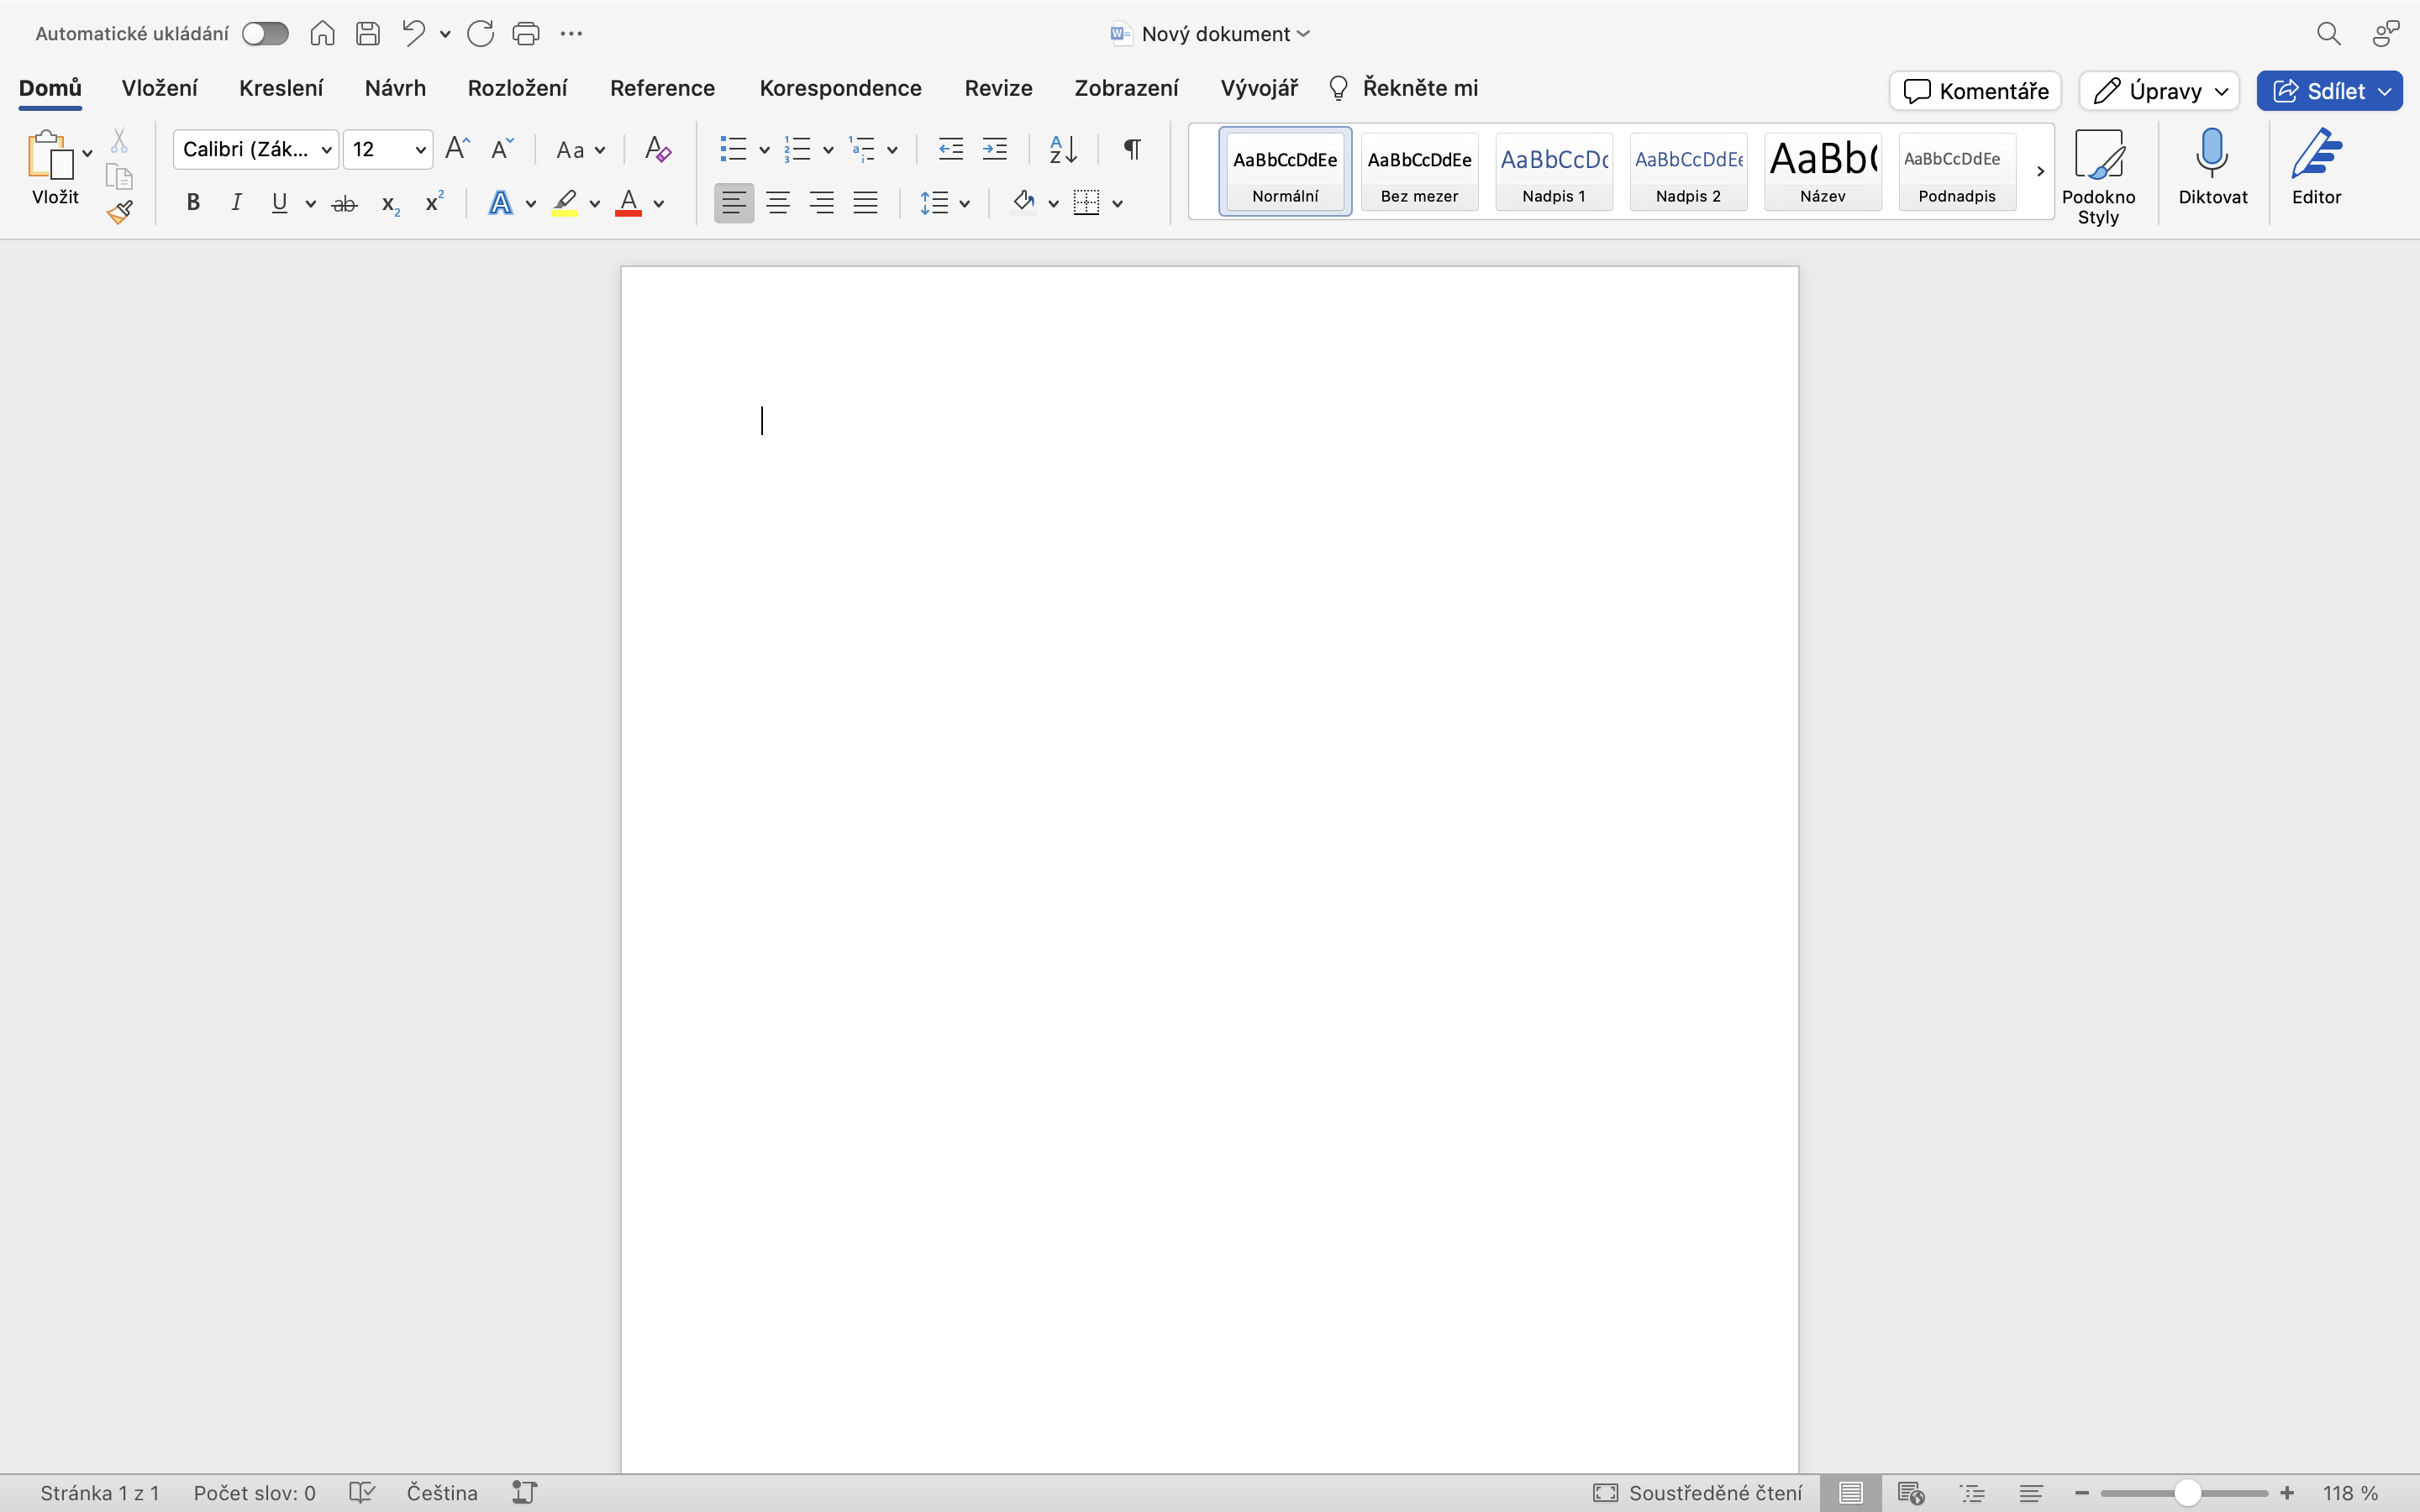
Of course, it depends on which version of Word you use. However, the icons in Microsoft Word, their basic layout and graphical design should be similar. The online version of Microsoft Word has limited features, and you won't find all the icons we're going to talk about today. We'll be using the Mac version of Microsoft Word for the demonstrations.
Obviously, at first glance, you have no idea what each icon means. Don't worry, we'll explain and demonstrate everything as we go along.
On the right-hand side of the main top bar of the document is the quick access bar, which contains several handy features. It's up to each user what features they want to have there, their selection can be easily changed in the settings. The predefined view offers the following functions:
As the name suggests, this feature gives you the opportunity to send your feedback to Microsoft. In the Windows version, the user and the upcoming features button appear on the top right.
The tab strip is a series of toolbars where you can find the functions you need to perform various tasks. Today we'll be looking at the basic tab, which is the Home tab, which offers a number of basic functions to help you format text.

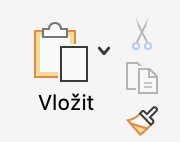
You can both type and copy the text of a document from the clipboard. This is done using the Paste function. You can also work with the smart clipboard, which remembers the last 20 entries. In addition, you can save some items permanently. You can use one of the following options to insert text:
There are other useful functions in the Clipboard block for working with inserting and removing text:
Before you start adjusting font size, bolding, and inserting headings, use the formatting marks display feature (a symbol that looks like an inverted P). This feature will show you all the non-printable formatting marks. What do the basic symbols mean?
A feature that makes formatting text in Word easier, because you can immediately see where you have extra space or where you're missing paragraph breaks.
On the Home tab, there's a section for editing fonts, containing a number of features that let you change the appearance of your text. You always need to select the text you want to format. You can use the shortcut Command + A / Ctrl + A (for Windows) to mark the text of an entire document.
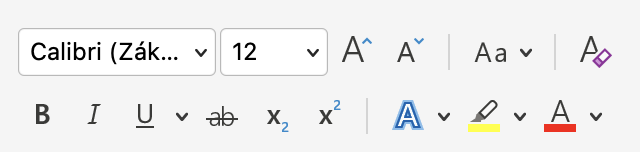
Tip: Be careful about underlining text, as underlining is against typographic principles and is considered an error.
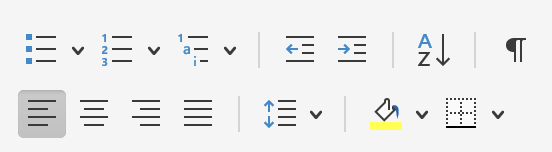
The next block contains functions that are used to format paragraphs. To create a new paragraph, press the Enter key. Dividing the text into paragraphs is especially important for clarity and ease of navigation. What are all the paragraph formatting options Microsoft Word offers?
American vs. European way of formatting paragraphs
When formatting paragraphs, be clear whether you want to use the American way of formatting or the European way commonly used in academia. How are they different? The American way of formatting separates paragraphs with a more prominent space between them, while the European way uses indentation on the first line of a new paragraph.
How to set the first line indentation?
Styles serve as a sort of shortcut for formatting your document. It's a powerful tool that helps you achieve a consistent style for your document more quickly. They cover various aspects of formatting such as font type, font size, indentation, alignment, colors and much more.
The Home tab provides a basic menu of styles for different levels of headings, highlighting, and other text formatting. In addition to the default styles, you can create custom styles to meet your specific formatting needs.
To create a custom style, click on the Styles pane and a pop-up bar will appear on the right side. Click New Style... and then set the formatting for your new style. The style you create can then be used in all other documents. You can also add it to your quick styles list so you always have it handy.
Tip: If your file gets corrupted or overwritten, you will lose your created style, so we recommend backing up your document to the cloud, for example.

Other features offered by the Home tab include Dictate, which allows you to dictate text using the microphone. On the Mac, you can currently only dictate in English. On Windows, you'll need to use Azure's corporate plugins or have Windows 11, which has English support built in, to support English. Most users, however, have Windows 10, which again only supports English.
The editor is another feature that Word offers. Microsoft Editor uses AI to help you write the best possible text without stylistic and grammatical errors. We've written a guide on how to set up Microsoft Editor in our introductory guide for Microsoft Word. Later this year, Microsoft Editor is expected to be replaced by Microsoft Copilot, which will offer you a range of new ways to use Microsoft's apps effectively.
Today, we've also put together a few tips that you'll find useful when formatting your document.
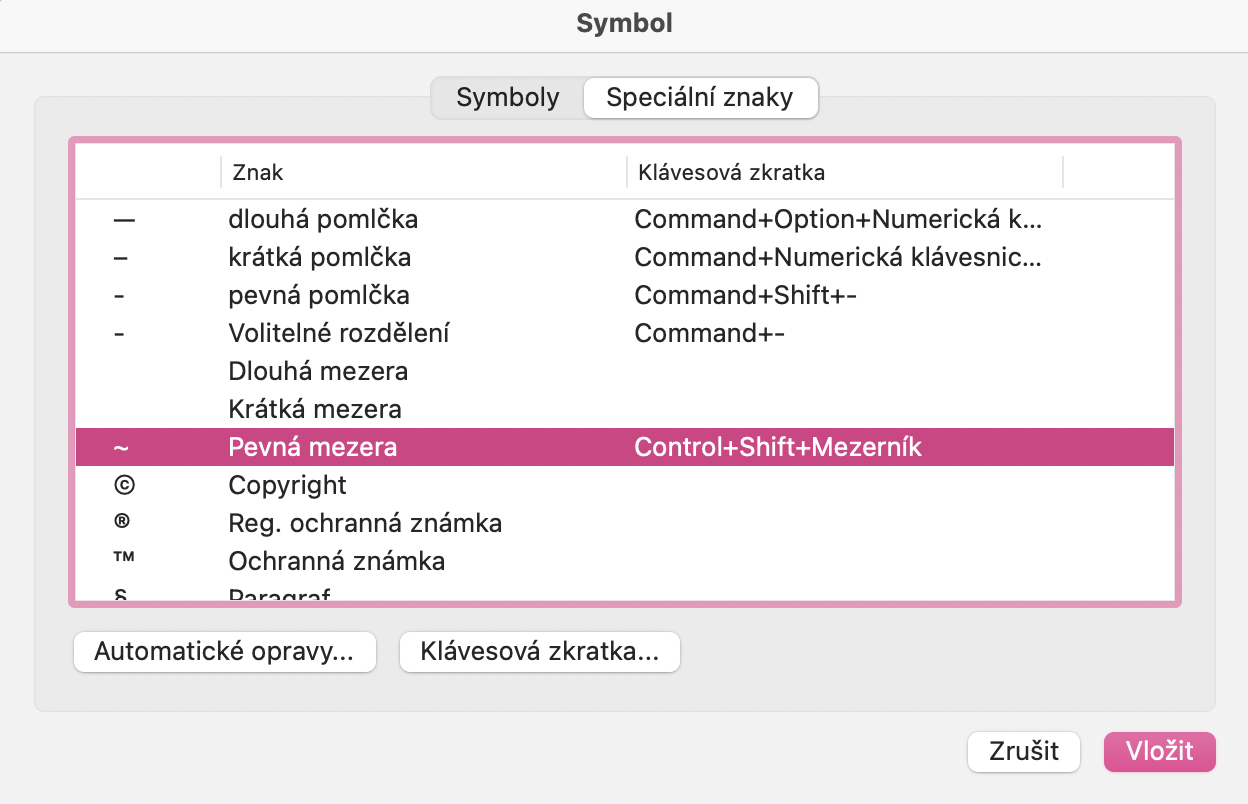
A fixed space is one that, unlike a standard space, prevents text from wrapping at the end of a line between two words, letters, or characters that you choose. Often a fixed space is used when writing conjunctions or prepositions.
You have two options for typing a fixed space:
Another useful feature that Microsoft Word offers is page numbering. How to do it? This time, you won't navigate to the Home tab, but go to the Insert tab.
If you want to start numbering from a certain page onwards just display the Page Number icon options and select Page Numbering Format. In the Start from box, type the page number from which you want to start numbering the document.
How do I view page numbering from a specific page?
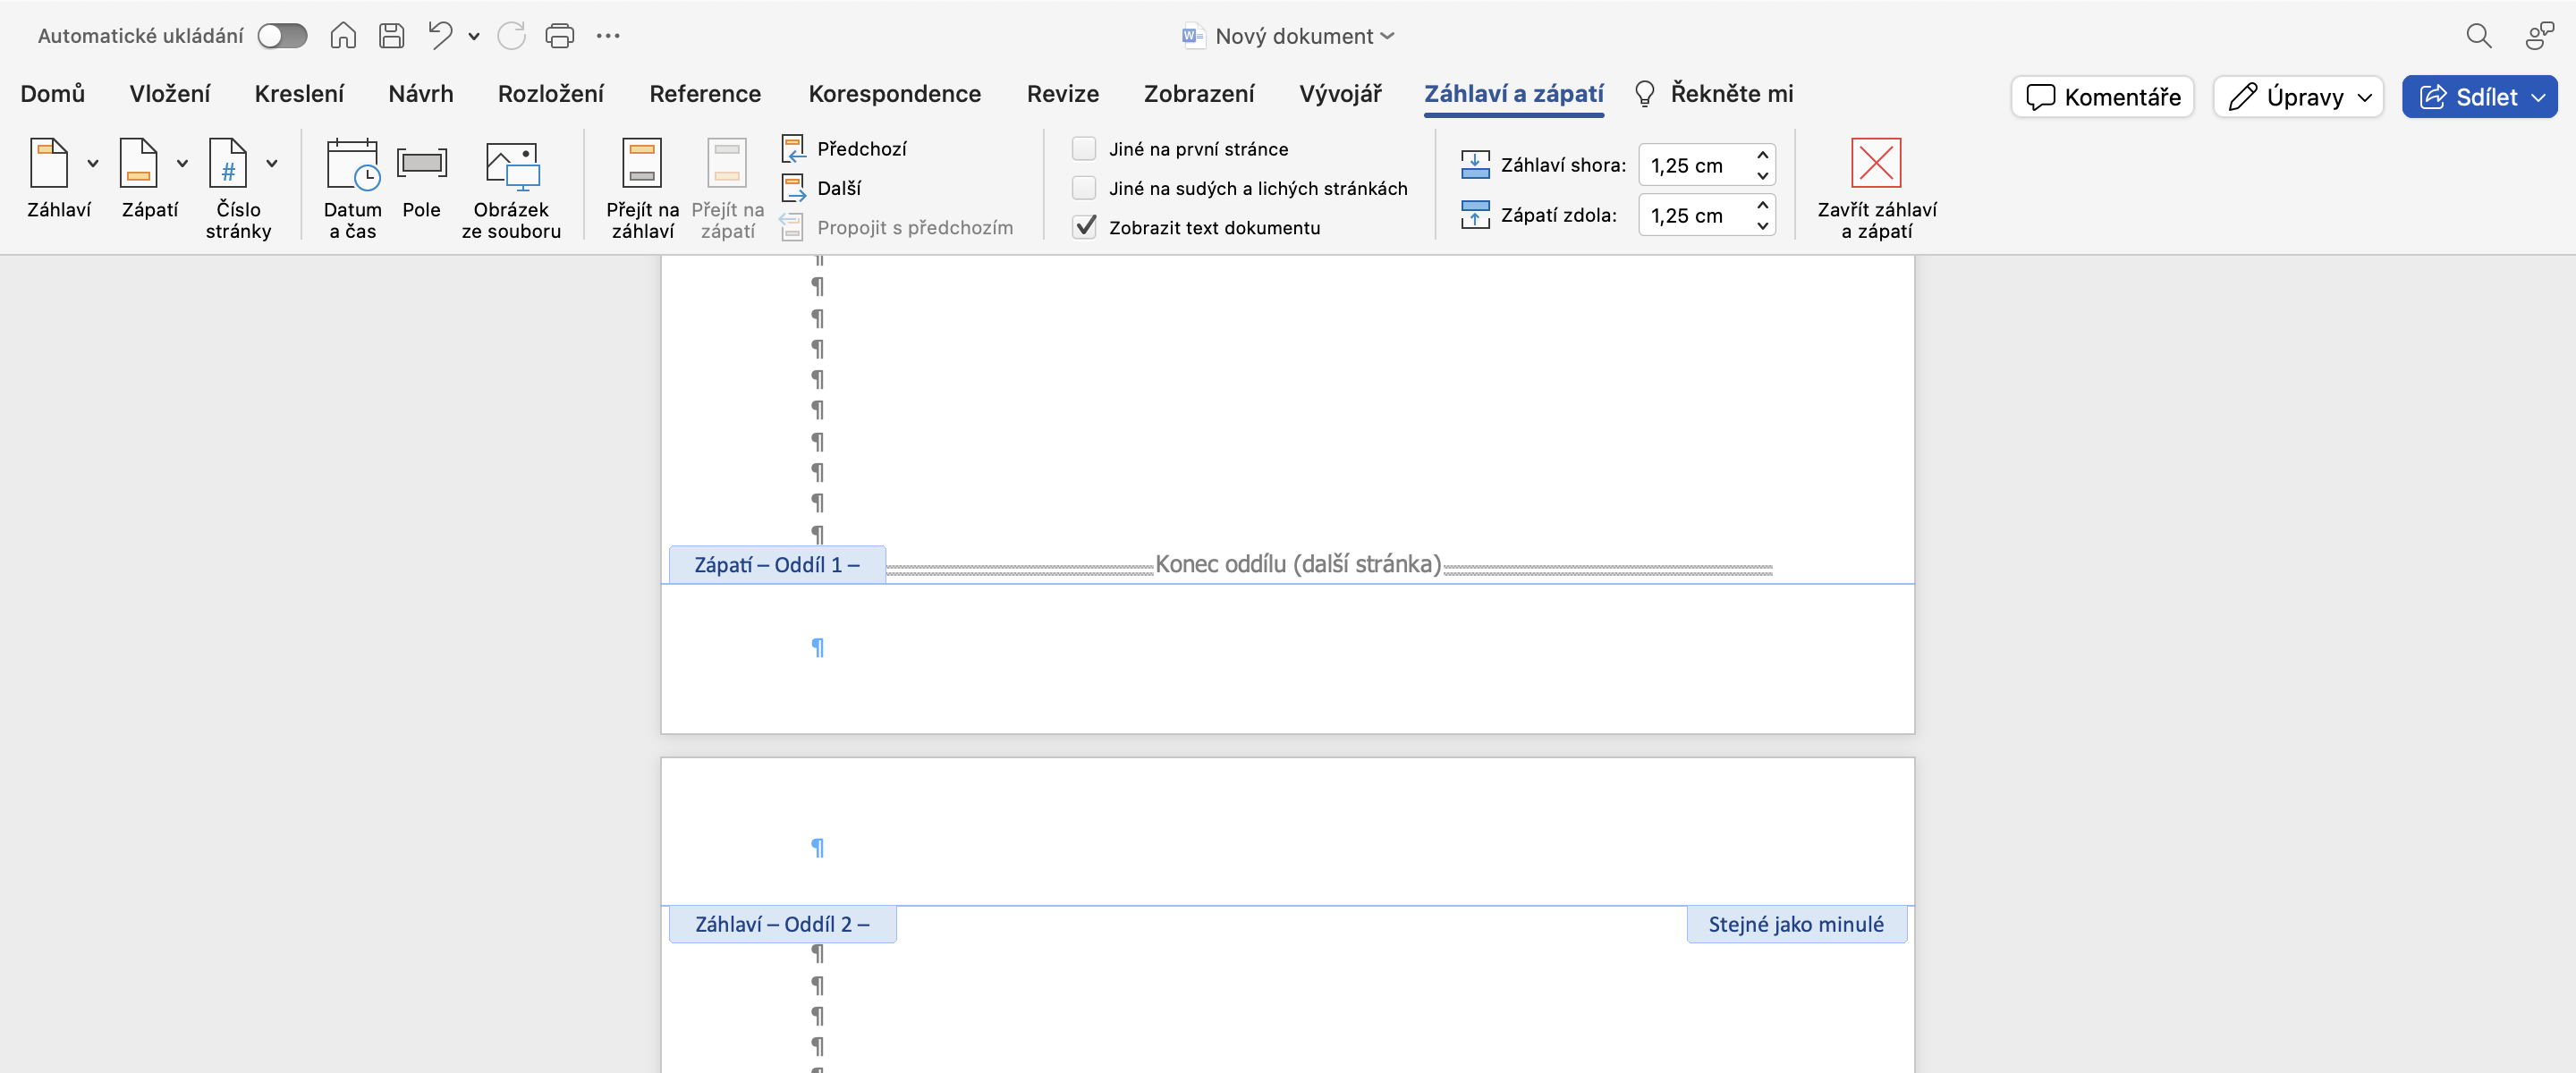
In order to number a document from a certain page onwards, you need to insert "End of section on next page" on the previous page. Sections are used to divide the document into several parts, this gives you the ability to set different document appearance in each section. You can insert the end of a section by clicking on the Layout tab. Select the Endings feature and choose Next Page from the menu.
Then double-click at the bottom of the document to navigate to the Header and Footer. On the tab bar, click Link to previous. You now have your document divided into Section 1 and Section 2. Then all you have to do is delete the numbering from the section you don't want numbered.
Another useful feature is the numbering of only even or odd pages. To set this, double-click in the Header or Footer area. This will bring up a new Header and Footer tab. Here, check the Other option on even and odd pages. This gives you the option to number only the odd pages of the document, for example.
Now you can dive into writing, and especially formatting your text, and try out everything you've learned in this article.

Copyright © 2026 - Algotech a.s., all rights reserved
| Personal data processing |
Terms and conditions